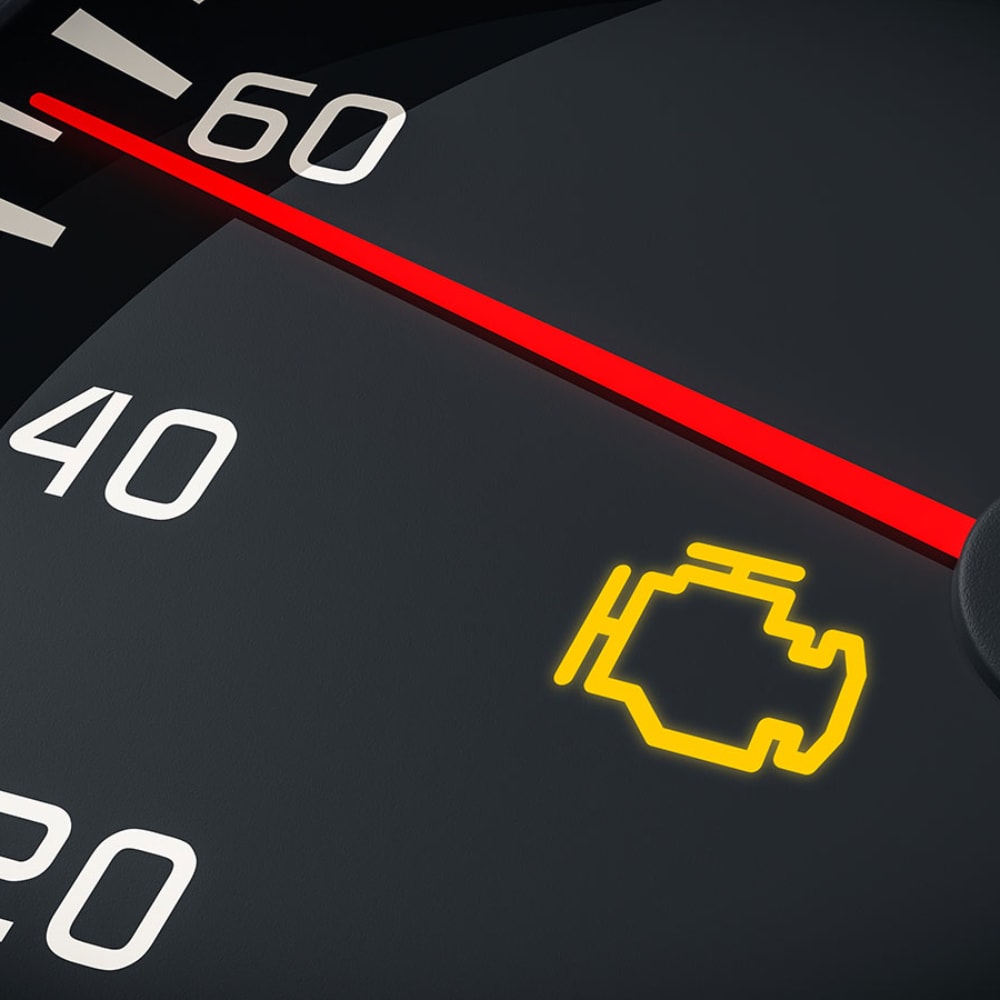
Seeing the check engine light illuminate on your Volvo’s dashboard can be concerning, but it doesn’t always indicate a severe problem. Often, it’s a reminder that your vehicle needs attention or that a minor issue has occurred. While you should always address the root cause of the light, knowing how to reset it can be helpful for many drivers. Here’s a step-by-step guide on resetting the check engine light in your Volvo, brought to you by Gengras Volvo North Haven, one of the leading Volvo dealers in North Haven.
Step 1: Understand the Reason for the Light
Before resetting the check engine light, it’s essential to determine why it was activated in the first place. Common reasons include:
- Loose or damaged gas cap
- Faulty oxygen sensor
- Emission system issues
- Engine misfires
Using an OBD-II scanner can help you read the error codes stored in your vehicle's computer system. This tool will provide insights into what triggered the light, allowing you to address any underlying issues.
Step 2: Inspect Your Vehicle
Conduct a visual inspection of your Volvo to check for any obvious problems. Here are a few things to look for:
- Gas Cap: Ensure that the gas cap is securely tightened. A loose gas cap is a common cause for the check engine light to activate.
- Wires and Hoses: Look for any damaged or disconnected wires and hoses in the engine compartment. If you spot any issues, consider having them repaired before proceeding with the reset.
Step 3: Use an OBD-II Scanner
If you have access to an OBD-II scanner, you can reset the check engine light yourself. Here’s how:
- Connect the Scanner: Plug the OBD-II scanner into the vehicle’s diagnostic port, usually located under the dashboard near the driver’s seat.
- Turn On the Ignition: Turn the ignition key to the “ON” position without starting the engine. This will power the scanner.
- Read the Codes: Follow the scanner’s instructions to read any error codes. Take note of any codes that are displayed.
- Clear the Codes: Look for the option to clear or reset the codes. Select this option, and the check engine light should turn off.
- Disconnect the Scanner: Remove the scanner from the diagnostic port and turn off the ignition.
Step 4: Disconnect the Battery (Alternative Method)
If you don’t have an OBD-II scanner, you can reset the check engine light by disconnecting the battery. Here’s how:
- Turn Off the Engine: Ensure your Volvo is turned off and parked safely.
- Locate the Battery: Open the hood and find the battery.
- Disconnect the Negative Terminal: Using a wrench, loosen the nut on the negative battery terminal and disconnect it. This will reset the vehicle's computer.
- Wait for a Few Minutes: Leave the battery disconnected for about 15-30 minutes to ensure that all capacitors discharge completely.
- Reconnect the Battery: Reattach the negative battery terminal and tighten the nut securely.
- Start the Engine: Turn on your Volvo and check if the check engine light is off.
Step 5: Monitor the Situation
After resetting the check engine light, keep an eye on it. If it reactivates shortly after, this indicates that the underlying issue has not been resolved. In this case, it’s essential to consult with professionals.
When to Seek Professional Help
If you’re unsure about diagnosing the problem or if the check engine light returns, it’s time to consult with experts. As a trusted Volvo dealer, Gengras Volvo North Haven has a team of skilled technicians ready to assist you. We can perform a thorough diagnostic to identify and address any issues accurately.
Conclusion
Resetting the check engine light in your Volvo is a straightforward process that can help you regain peace of mind. However, it’s crucial to understand the reason behind the light and address any underlying issues to ensure your vehicle remains in top condition. If you need assistance or have questions, don’t hesitate to reach out to Gengras Volvo service centre in North Haven. We’re here to help you keep your Volvo running smoothly for years to come!